

وسّع نطاق تطويرك المرئي عالميًا دون الحاجة إلى تعليمات برمجية خلفية.
Webflow هي المنصة الأولى للتطوير المرئي، ولكن الترجمة المحلية الأصلية قد تكون معقدة ومكلفة. يدمج MultiLipi مباشرة في بنية Webflow عبر حقن نص برمجي واحد، مما يحول صفحاتك الثابتة ومجموعات CMS الخاصة بك على الفور إلى البنية التحتية متعددة اللغات مع فهرسة SEO كاملة.
يصف هذا الدليل عملية التكامل باستخدام الرمز المخصص الميزة.
1. متطلبات النشر
قبل البدء، تأكد من أن بيئتك تلبي المتطلبات:
خطة موقع Webflow
لابد أنك على خطة الموقع الأساسية (أو أعلى) لفتح ميزة "التعليمات البرمجية المخصصة".
مفتاح MultiLipi API
حدد هذا في لوحة التحكم الخاصة بك تحت الإعدادات > العام.
2. الخطوة 1: الوصول إلى بنية الموقع
سنقوم بحقن محرك الترجمة في الترويسة العامة لضمان استمراره عبر جميع الصفحات وقوالب CMS.
- 1
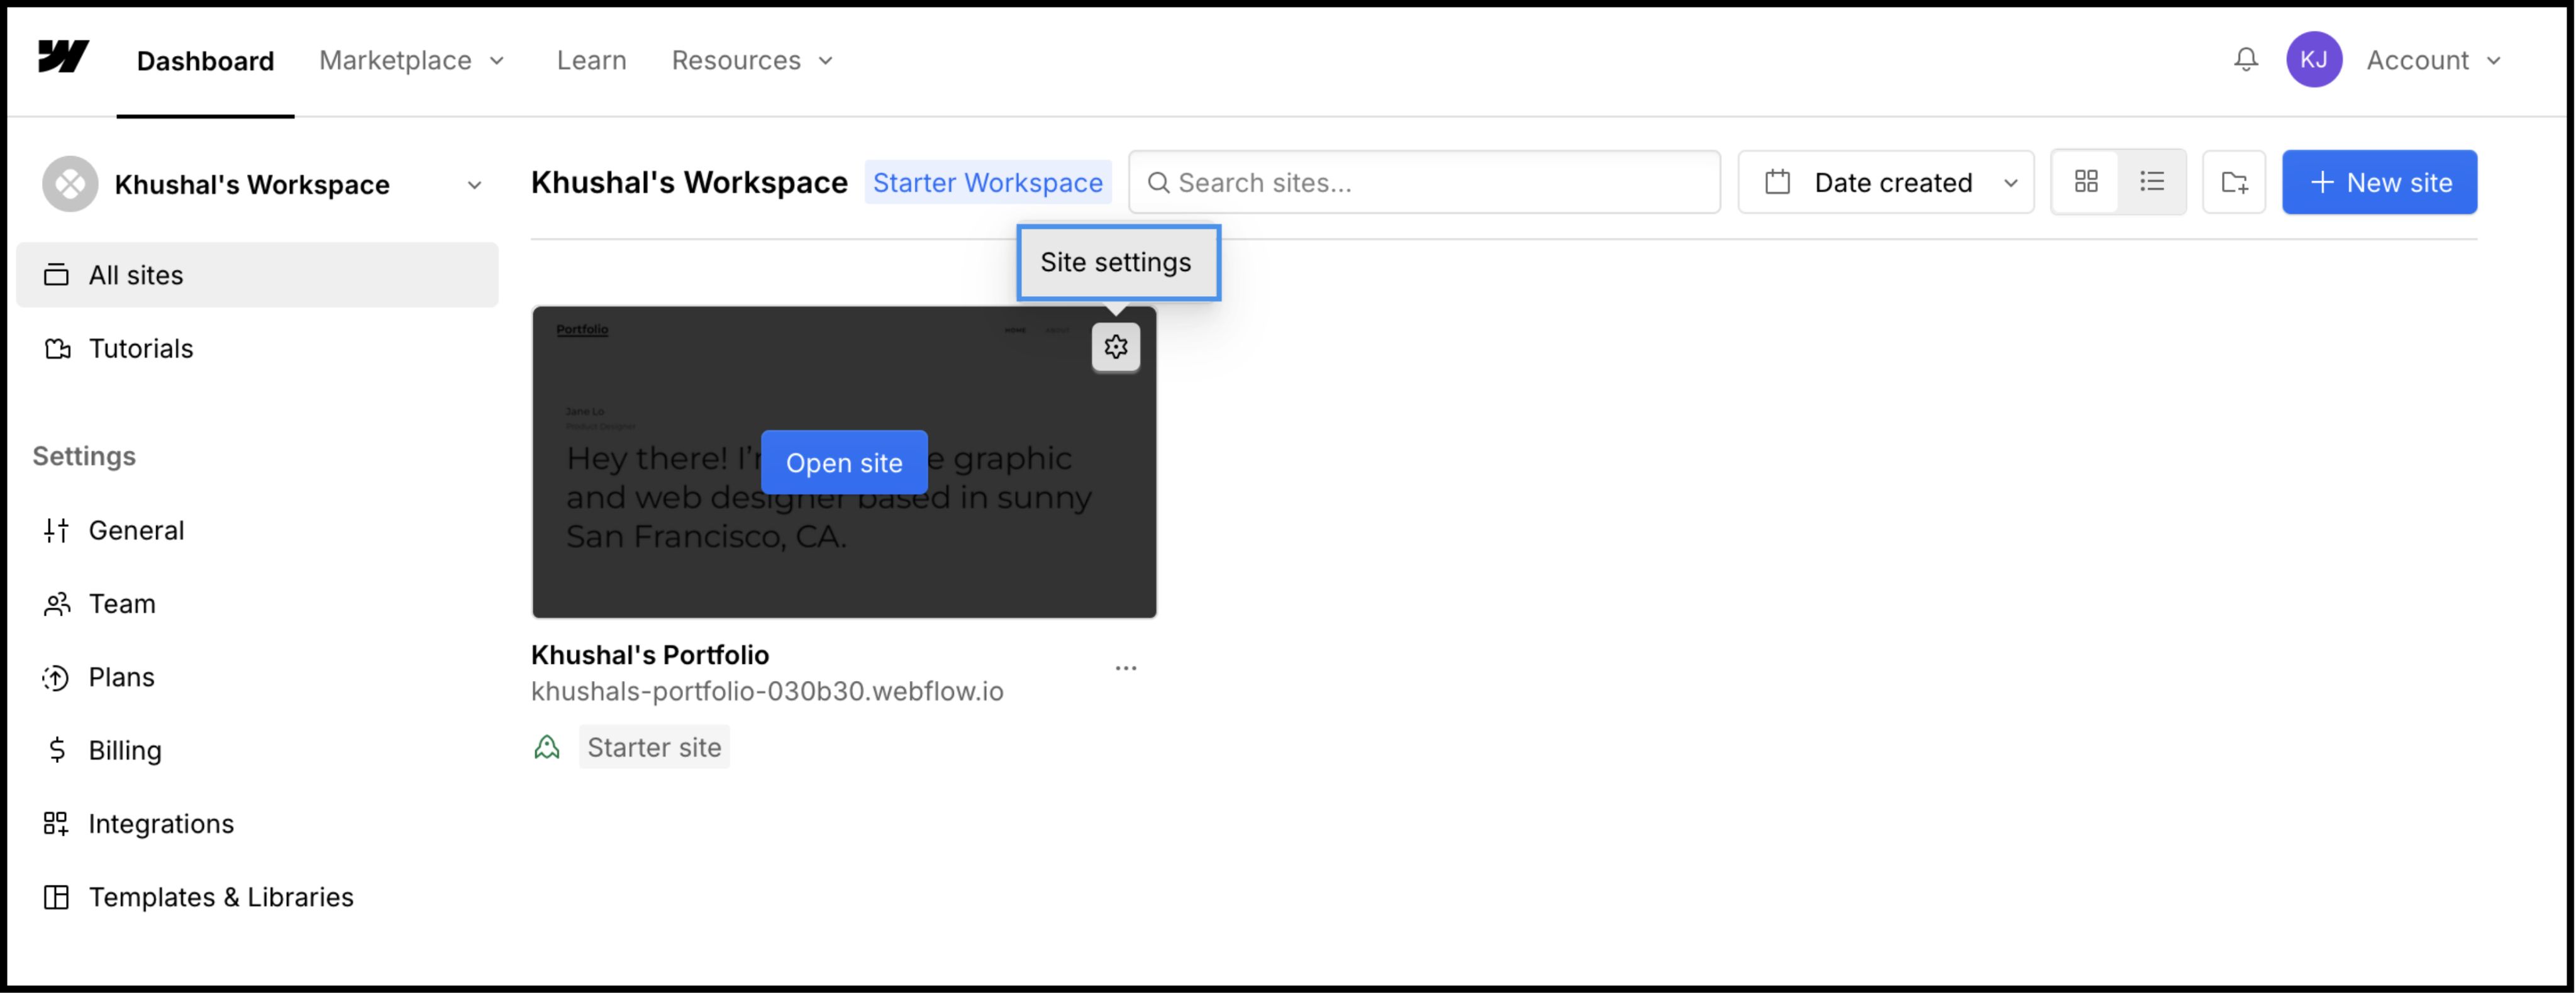
سجل الدخول إلى لوحة تحكم Webflow.
- 2
حدد موقع بطاقة مشروعك وانقر فوق أيقونة الإعدادات (⚙️) (أو اختر إعدادات الموقع من قائمة المصمم).
- 3
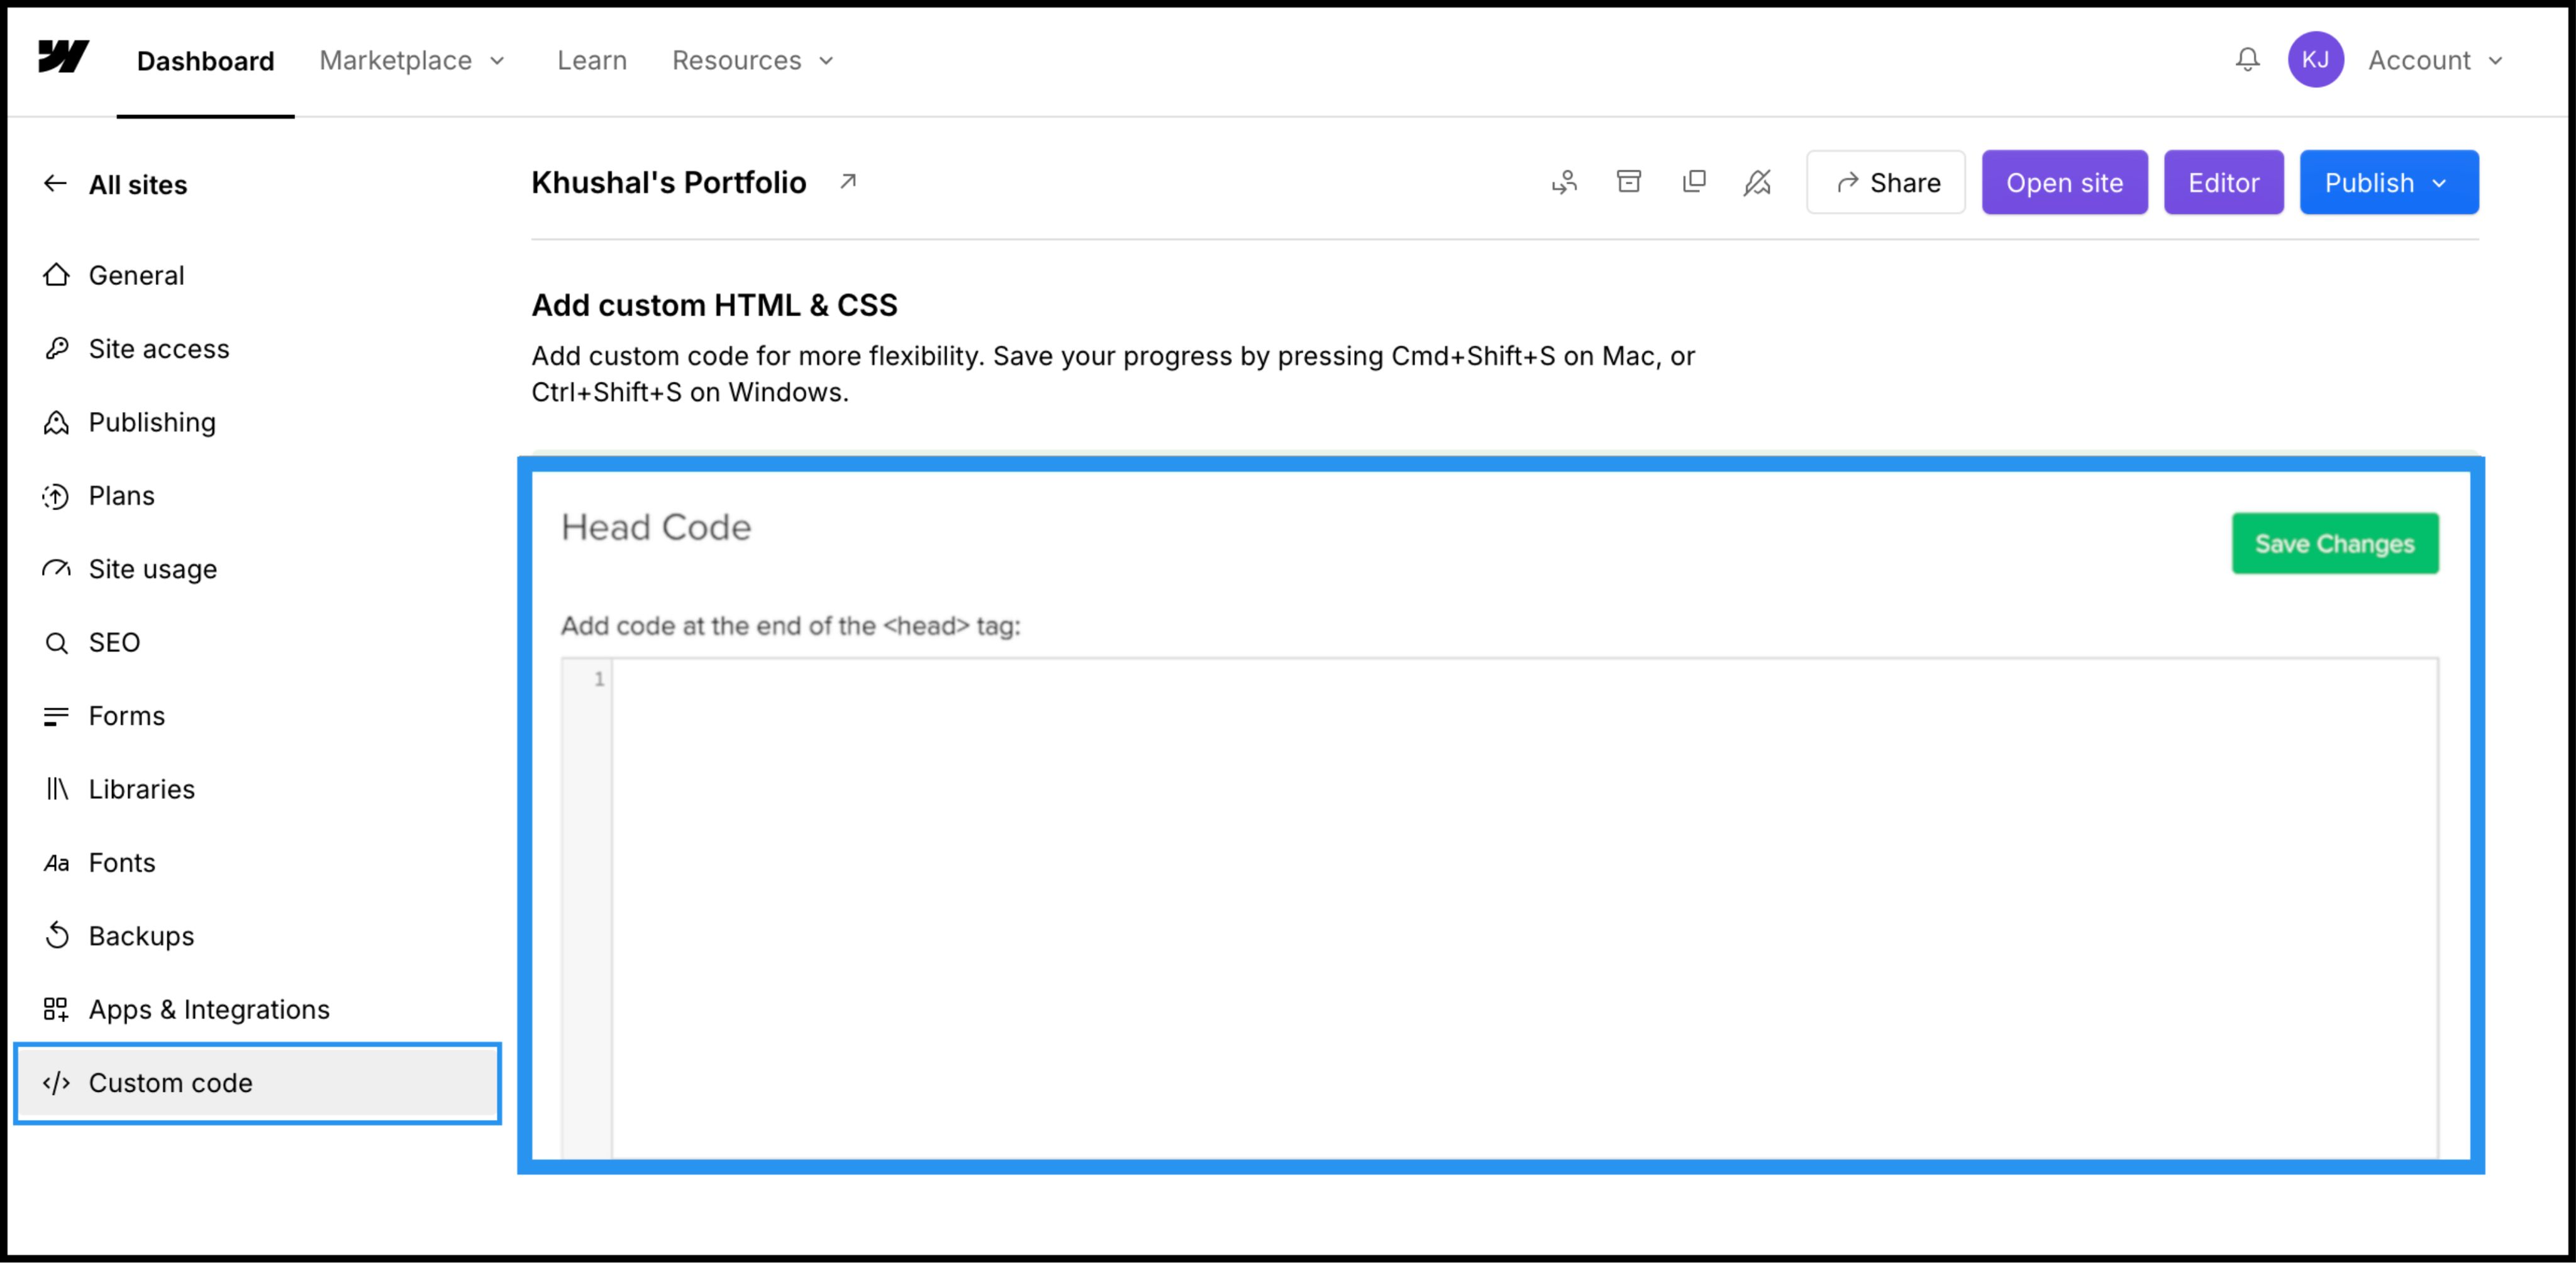
انتقل إلى الرمز المخصص علامة التبويب في شريط التنقل العلوي.
3. الخطوة 2: حقن سكريبت البنية التحتية
- 1
انتقل لأسفل إلى الحقل المسمى "رمز الرأس".
- 2
ملاحظة: لا تضع هذا في "رمز التذييل"، فقد يؤدي ذلك إلى تأخير تحميل الترجمة والتسبب في "وميض المحتوى غير المترجم".
الإجراء: لصق سكريبت الاتصال
الصق نص برمجي الاتصال التالي في الحقل:
⚠️ التكوين الحرج
- •استبدال
YOUR_API_KEY_HEREمع مفتاح API الفعلي منسوخا من لوحة تحكم MultiLipi الخاصة بك. - •انقر فوق الزر الأخضر تغييرات الحفظ زر في الزاوية العلوية اليمنى.
4. الخطوة 3: النشر والتحقق
لا يقوم Webflow بتشغيل التعليمات البرمجية المخصصة في طريقة عرض المصمم. يجب عليك النشر لرؤية المحرك أثناء العمل.
النشر
اضغط على الأزرق النشر واختر نطاق الإنتاج الخاص بك (أو .webflow.io نطاق التدريج).
تحقق
افتح الرابط المباشر.
الفحص البصري
يجب أن يظهر مبدل اللغة في الزاوية السفلية اليسرى.
التحقق من نظام إدارة المحتوى (CMS)
انتقل إلى صفحة مجموعة نظام إدارة المحتوى (CMS) (على سبيل المثال، /blog/post-1) وقم بتبديل اللغات لضمان ترجمة المحتوى الديناميكي بشكل صحيح.
بروتوكول استكشاف الأخطاء
- •هل المحول مفقود؟ تأكد من نشر الموقع بعد حفظ الرمز:
- •فحص الخطة: تأكد من أن خطة استضافة Webflow الخاصة بك نشطة؛ غالبًا ما تحد مواقع التدريج المجانية من تنفيذ التعليمات البرمجية المخصصة على النطاقات المخصصة.
5. التحسين والتصميم
بمجرد النشر، يعمل MultiLipi بصمت في الخلفية.
سلامة التصميم
نظرًا لأننا نبدل عقد النص فقط، فإن تفاعلات Webflow (IX2) والرسوم المتحركة للتمرير تظل سليمة تمامًا.
تخصيص المحول
يمكنك إعادة وضع المحول باستخدام إعدادات لوحة التحكم الخاصة بنا أو تجاوز CSS الخاص به لمطابقة الخطوط المحددة لموقعك.
أتمتة تحسين محركات البحث
نقوم بإنشاء sitemap.xml إدخالات و hreflang علامات لمشروع Webflow الخاص بك، مما يضمن لك التصنيف في نتائج البحث العالمية دون عمل SEO يدوي يدوي.